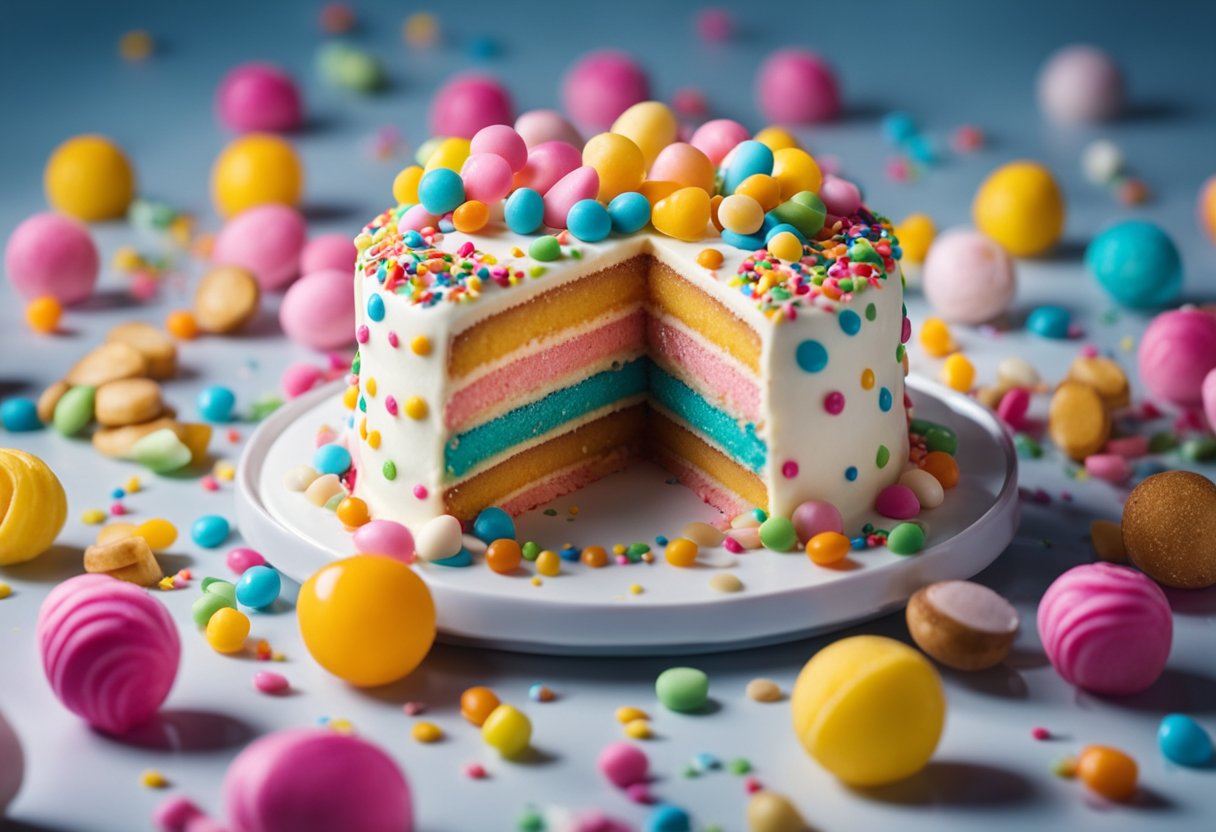
Creating a drip cake with candy melts is a delightful and visually appealing way to add a splash of color and sweetness to any celebration. Candy melts come in a spectrum of colors and are perfect for achieving that glossy, smooth cascade down the sides of your cake. This confectionery technique not only adds a layer of flavor but also elevates your cake’s presentation to a professional level.
To start, you’ll need a fully frosted cake as your canvas. The smooth surface acts as a base for the candy melt drips, ensuring they slide down in even trails. Before you begin with the candy melts, it’s vital to have your cake chilled as a cool surface helps the melts to set quickly, giving you more control over the flow and length of the drips.
The process of melting the candy, tempering it to the right consistency, and then applying it around the edge of the cake for that perfect drip effect, can seem daunting. However, with patience and a bit of practice, you’ll be able to create a stunning, celebratory showstopper that’s sure to impress. Get ready to unleash your creativity and add a pop of color to your next cake creation.
Preparing Your Cake Base
Before you start decorating with those vibrant candy melts, it’s essential to have a smooth and stable buttercream cake base. You’ll need your cake to be at room temperature to ensure even layering and a flawless finish.
Baking the Cake
First, choose your favorite cake recipe and bake it. Once your cakes come out of the oven, let them cool completely; this usually takes about 1 to 2 hours. Cooling is crucial because a warm cake can melt the buttercream and ruin the texture you’re aiming for.
Ingredients:
- Your choice of cake mix or prepared batter
- Eggs, oil, and water (as needed per the recipe)
Equipment:
- Cake pans
- Oven
- Cooling rack
Layering and Buttercream
Now, let’s layer your cake. Begin by leveling the top of each cake layer with a serrated knife to ensure they stack evenly. You’re aiming for flat, uniform layers to create a professional-looking cake.
Steps for Layering:
- Place your first cake layer on a cake board.
- Spread a generous amount of buttercream on top with a palette knife or the back of a spoon.
- Carefully lay the next layer on top, and repeat spreading buttercream until all layers are placed.
To achieve the best results for your icing, you should use room temperature buttercream. It’s easier to spread and will give you a smoother finish. Once layered, apply a thin coat of buttercream around the entire cake to create a crumb coat. This will help to seal in any crumbs and create a neat base for your candy melts to drip down later.
Icing Tips:
- Use a turntable if available, for easy turning and even application.
- An offset spatula or palette knife can give you more control and smoothness when spreading your buttercream.
Creating the Perfect Candy Melt Ganache
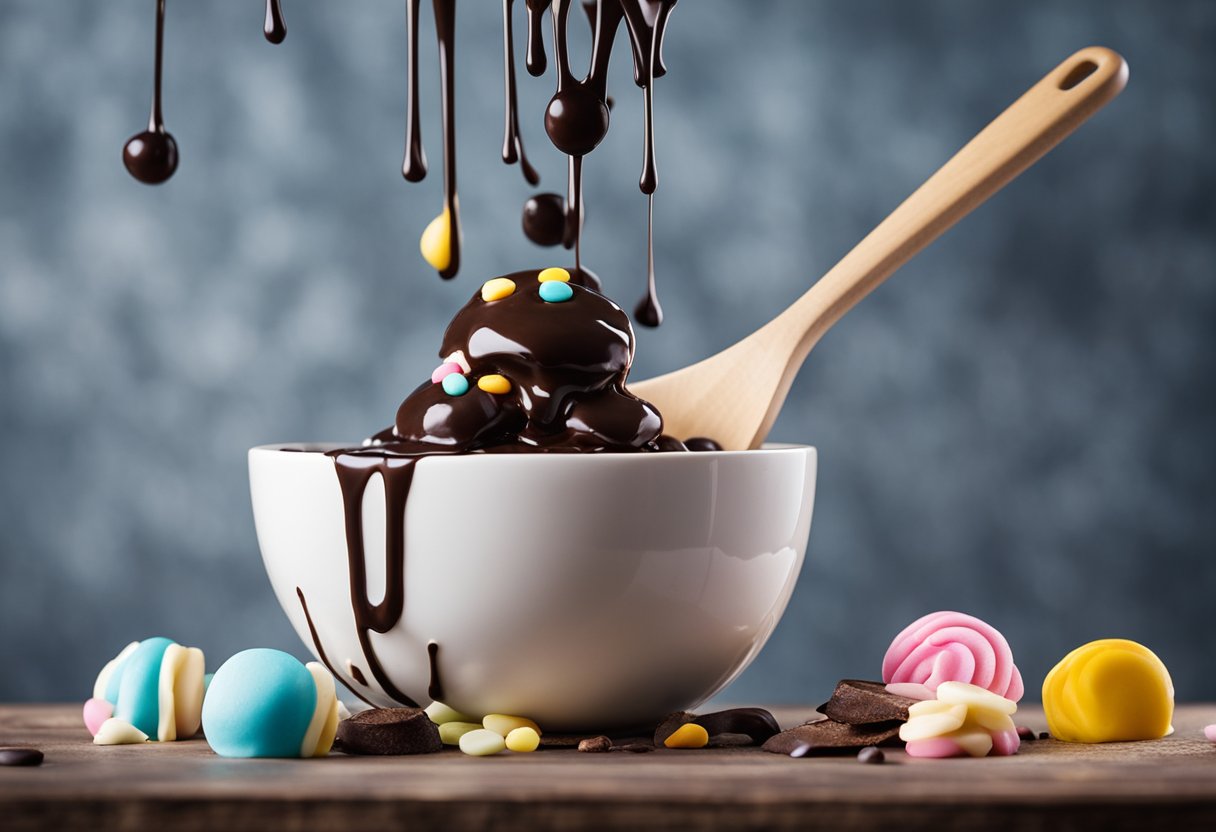
To master the art of making a drip cake with a flawless candy melt ganache, focus on the type of melts you choose, the ganache’s consistency, and the proper melting technique.
Choosing Your Candy Melts
When selecting candy melts, aim for high-quality brands to ensure a smooth finish. Your choice of color and flavor will set the tone for your cake’s appearance and taste, so pick ones that match your theme or desired flavor profile.
- Quality: Look for smoothness and even melting properties.
- Color: Choose colors that coordinate well with your cake design.
- Flavor: Opt for flavors that will complement the overall taste of your cake.
Achieving the Right Consistency
The ideal ganache consistency is crucial for a drip effect that holds its shape without being too runny or too stiff. To achieve this:
- Mix candy melts with heavy cream in a 2:1 ratio for a thick, yet pourable ganache.
- Adjust with more candy melts or cream if needed, seeking a honey-like consistency.
- Ensure even consistency through thorough stirring.
Melting and Mixing
Melting candy melts properly is essential for a smooth ganache. Use a microwave-safe bowl and melt in short intervals to avoid overheating.
- Place candy melts in the bowl and add heavy cream on top.
- Microwave in 30-second bursts, stirring in between until smooth.
- Stirring: Always stir gently but thoroughly to combine the candy melts and cream into a homogeneous mixture.
- Temperature: The ganache should be warm to the touch but not hot, to create the perfect drip effect.
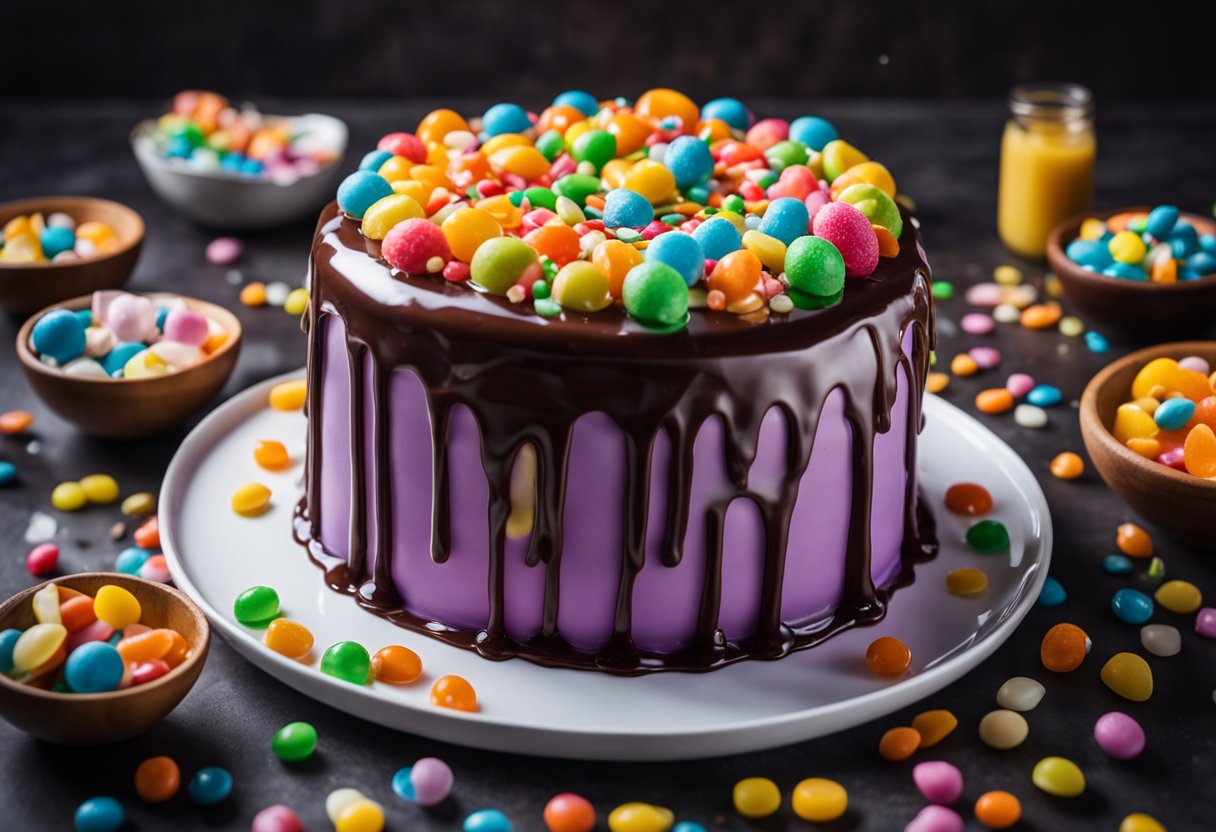
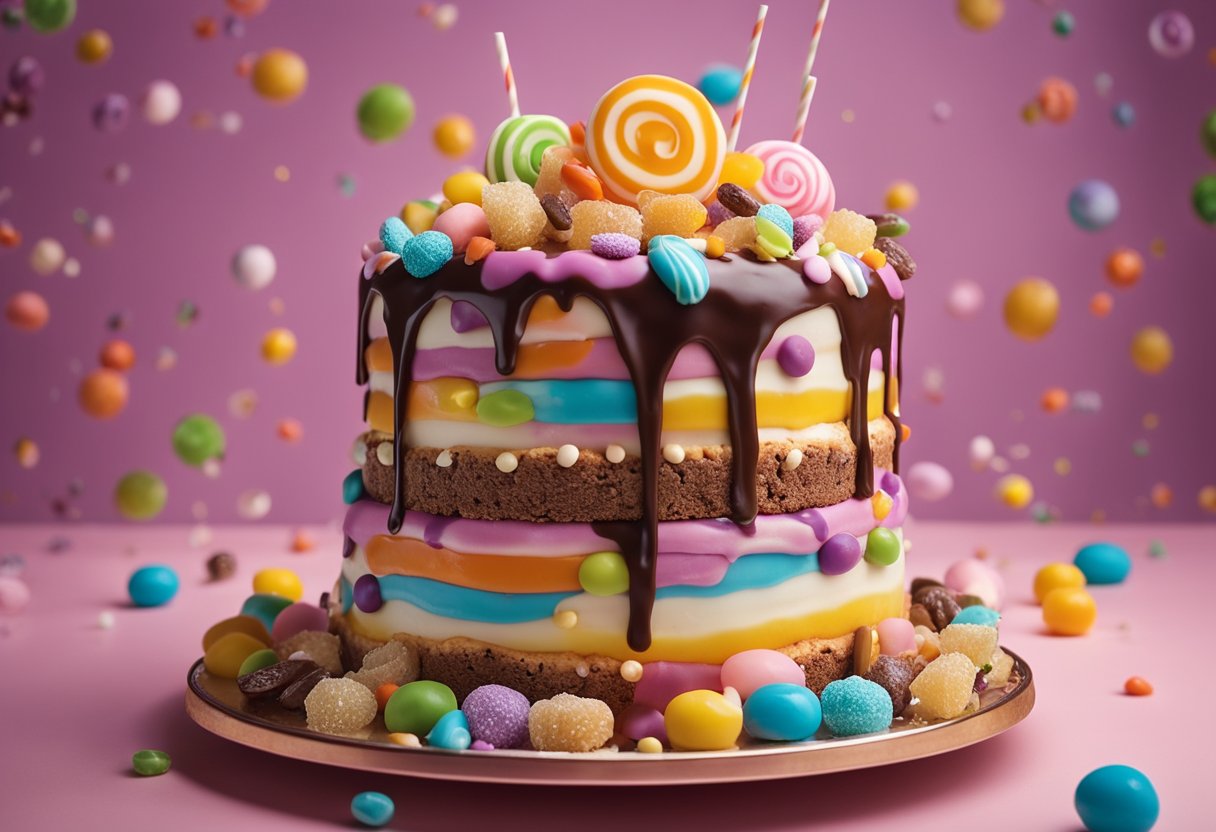
Applying the Drip Effect
To achieve a stunning drip effect on your cake, you’ll need the right tools and technique. Patience is key, as is practicing your drip to get it just perfect before applying it to the cake.
Setting Up for the Drip
Before you begin, it’s crucial to gather your tools.
- Offset spatula: Have this on hand to smooth out the melted candy if necessary.
- Squeezing bottle/piping bag: Choose what you’re most comfortable with to control your drip.
Preparation:
- Place your cake on a turntable for easy spinning.
- Ensure the candy melts are at the right consistency—not too thick nor too thin.
Mastering the Drip Technique
Creating the perfect drip involves timing and consistency.
- Test drip: Always do a test drip on the edge of your cake stand to check the flow.
- Application: Squeeze a small amount of melted candy at the edge of your cake and let it naturally drip down the sides.
- Drip length: Control the amount of candy for varying lengths.
- For a chunkier drip, apply more pressure to your squeezing bottle or piping bag.
- To create thin little drips, gently squeeze a small amount and immediately release pressure.
- Use your turntable to spin the cake as you apply drips at consistent intervals.
Using Alternative Tools for Dripping
If you don’t have a piping bag or squeezing bottle, here are some alternatives.
- Ziplock bag: Fill with melted candy, snip off a corner, and use like a piping bag.
- Spoon: For a more rustic look but less control, drizzle the melted candy with a spoon.
Experiment with different tools to find what gives you the best control for your ideal drip effect.
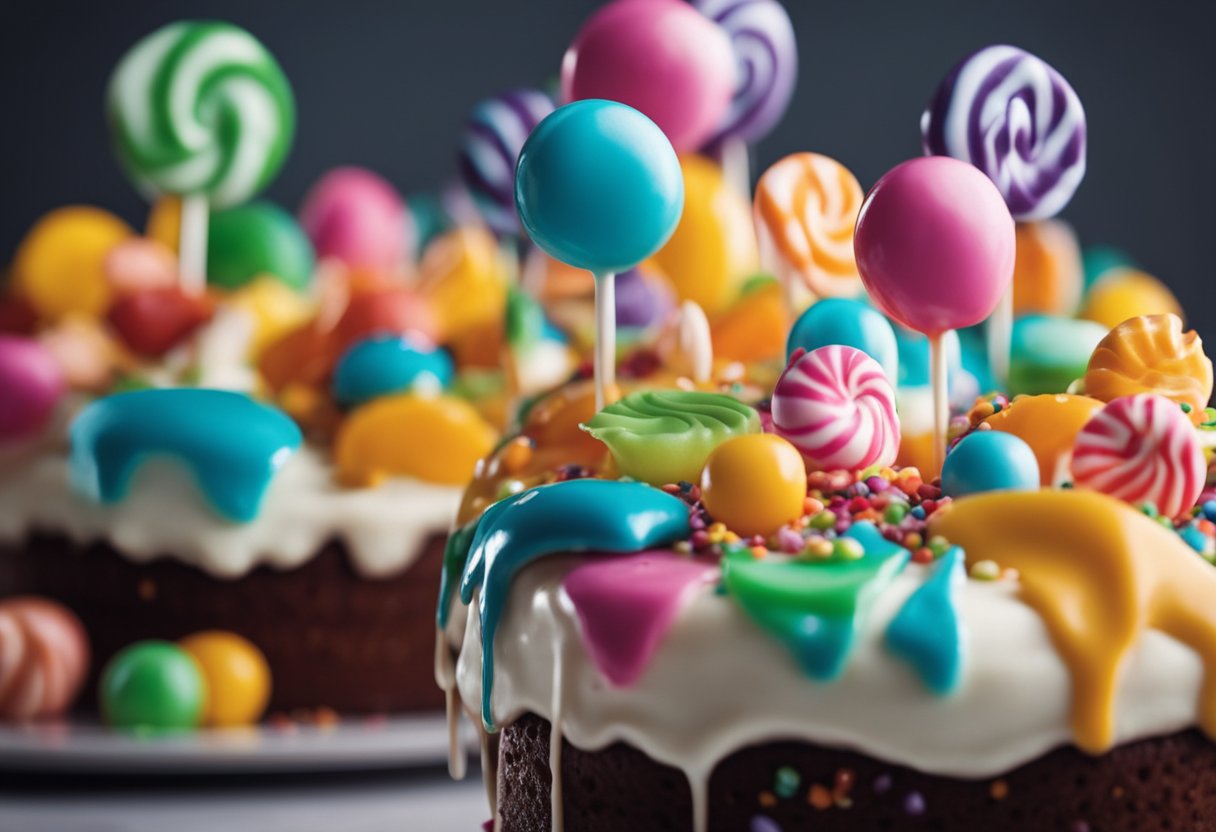
Finishing Touches and Presentation
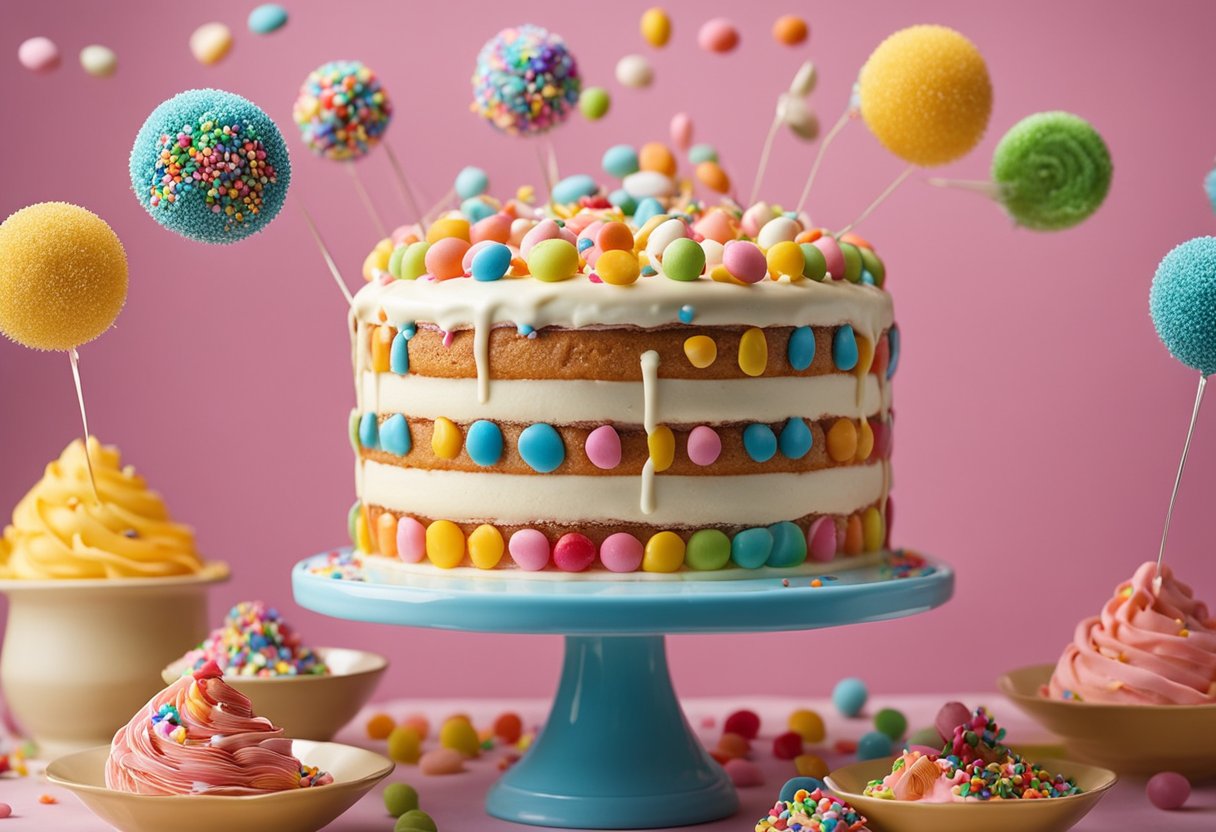
The final steps transform your drip cake from simply sweet to visually stunning. Use colored candy melts and an array of candies to add that eye-catching factor.
Decorating with Additional Candies
After your candy melts have set into perfect drips, it’s time to add more texture and interest. Strategically place candies on the top and sides of your cake. Here’s how to go about it:
- Choose a variety of candies that complement the hues of your cake.
- Place larger candies towards the bottom and smaller ones up top for a balanced look.
Adding Color and Sparkle
Now, let’s infuse your creation with a bit of shimmer and a pop of color. Colored candy melts and sprinkles are your allies here.
- Sprinkle a dusting of luster dust over your cake for a subtle sheen.
- Scatter a blend of colorful sprinkles for an over-the-top dramatic look.
Remember, your creativity is key in cake decorating, and these finishing touches will make your drip cake a true showstopper.
Frequently Asked Questions
When working with candy melts for a drip cake, ensuring the right consistency for smooth drips and creative decoration is key. Here’s how you can address common challenges:
What is the best way to thin candy melts for a drip cake?
To thin candy melts for a drip cake, you can use paramount crystals or a small amount of vegetable shortening. Begin by adding a teaspoon at a time until you achieve the desired consistency.
How can you achieve smooth, even drips on a cake with candy melts?
For smooth, even drips, use a squeeze bottle or a spoon for control. Make sure your cake is chilled so the drips set quickly and maintain their shape as they flow down the sides of the cake.
What are some creative ways to decorate a drip cake using candy melts?
You can mix different colors of candy melts to create a marbled effect or sprinkle edible glitter and sprinkles on the drips while they’re still wet. Adding small candies or chopped nuts into the drips can also add texture and visual interest.
Can candy melts be combined with buttercream for a drip effect?
Candy melts typically should not be mixed with buttercream for dripping as they solidify differently. However, you can pipe buttercream accents around the base or top of the candy melt drips for a combined effect.
What should you do if your candy melts are too thick for dripping?
If candy melts are too thick, gently reheat them and add shortening or paramount crystals in small increments. Stir well after each addition and test the consistency before adding more.
How do you prevent candy melt drips from cracking on the cake?
To prevent cracking, avoid refrigerating the cake too long after applying the drips. Allow the drips to set at room temperature, and ensure the candy melts are not too hot when applied to the cake.