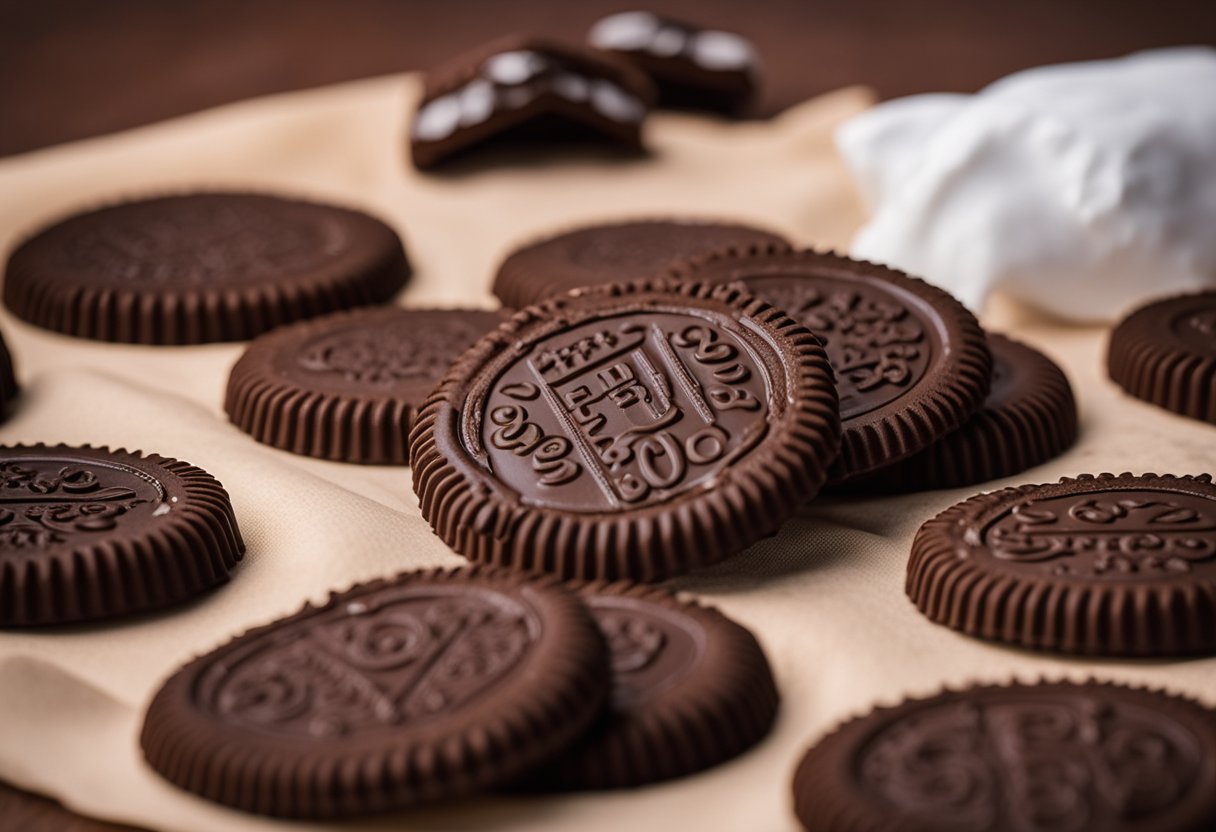
Chocolate-covered Oreos are a delightful treat that combine the classic crunch of an Oreo cookie with the smooth, rich taste of chocolate. If you’ve wanted to create these sweets at home, you might have thought you’d need a special mold to get that perfect, professional look. However, with some simple kitchen tools and a bit of know-how, you can produce chocolate-covered Oreos that are just as tempting as any store-bought version.
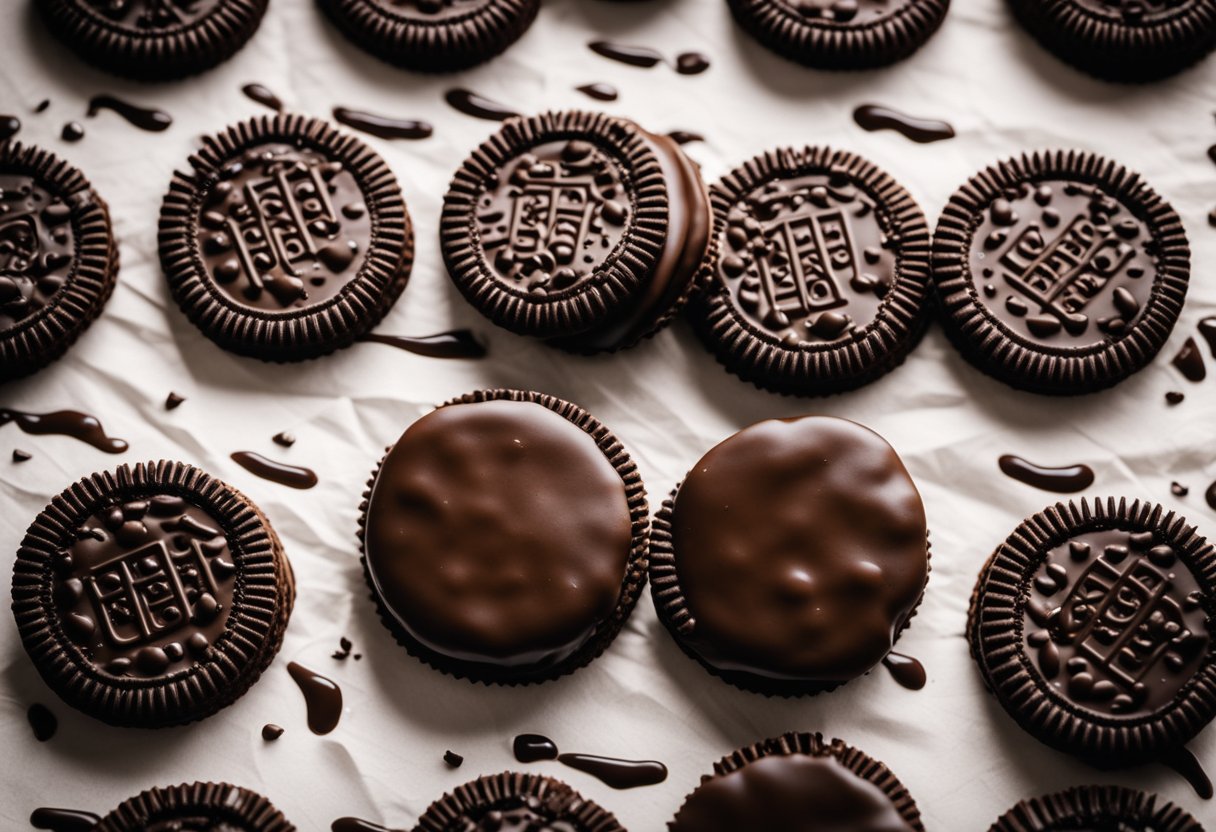
The process is straightforward and does not require any fancy equipment. Your kitchen is likely already equipped with everything you need to get started. From the comfort of your own home, you can customize these treats with your favorite type of chocolate and an assortment of sprinkles or toppings for a personal touch. Whether you’re making them for a party, as a gift, or simply as a snack for yourself, chocolate-covered Oreos without a mold are an easy and fun confection to prepare.
Gathering Your Ingredients and Tools
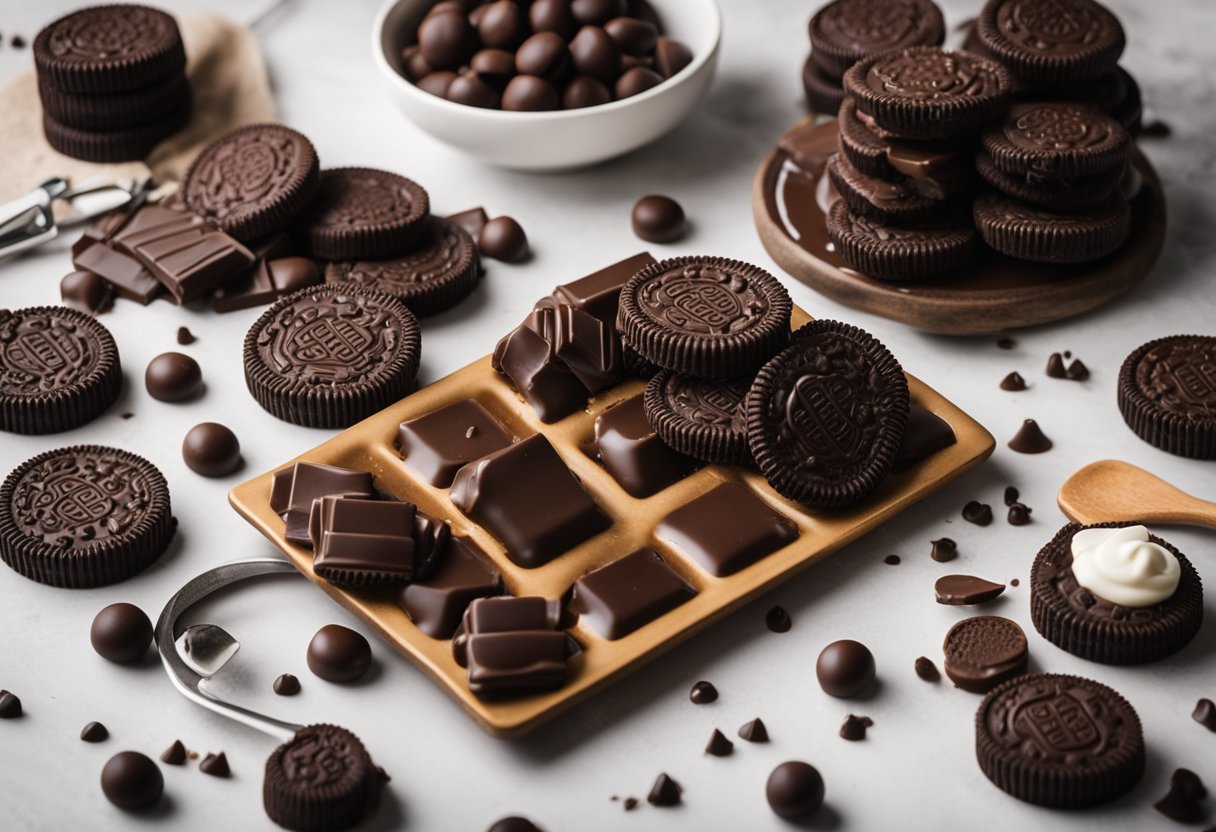
Before you start making your no-mold chocolate-covered Oreos, make sure you have the right chocolate and tools. Quality ingredients and proper utensils are crucial to creating delicious treats.
Choosing the Right Chocolate
When selecting chocolate for your Oreos, quality matters. Options include:
- Milk chocolate: Creamy and sweet, popular for a classic taste.
- Dark chocolate: Rich and more intense, with cocoa content typically ranging from 50% to 90%.
- White chocolate: A sweeter, cocoa-butter based alternative.
- Semi-sweet chocolate: Less sweet than milk chocolate and ideal for a balanced flavor.
- Chocolate chips: Easy to melt but may require additional fats to smooth out.
- Chocolate melting wafers or candy melts: Designed for easy melting, generally more uniform and ideal for coating.
Basic Ingredients for Your No-Mold Oreos
Your simple ingredient list includes:
- Oreo cookies: The base of your chocolate-covered creations.
- Just 3 ingredients are needed: Oreos, your chosen chocolate, and shortening (optional, to thin the chocolate if needed).
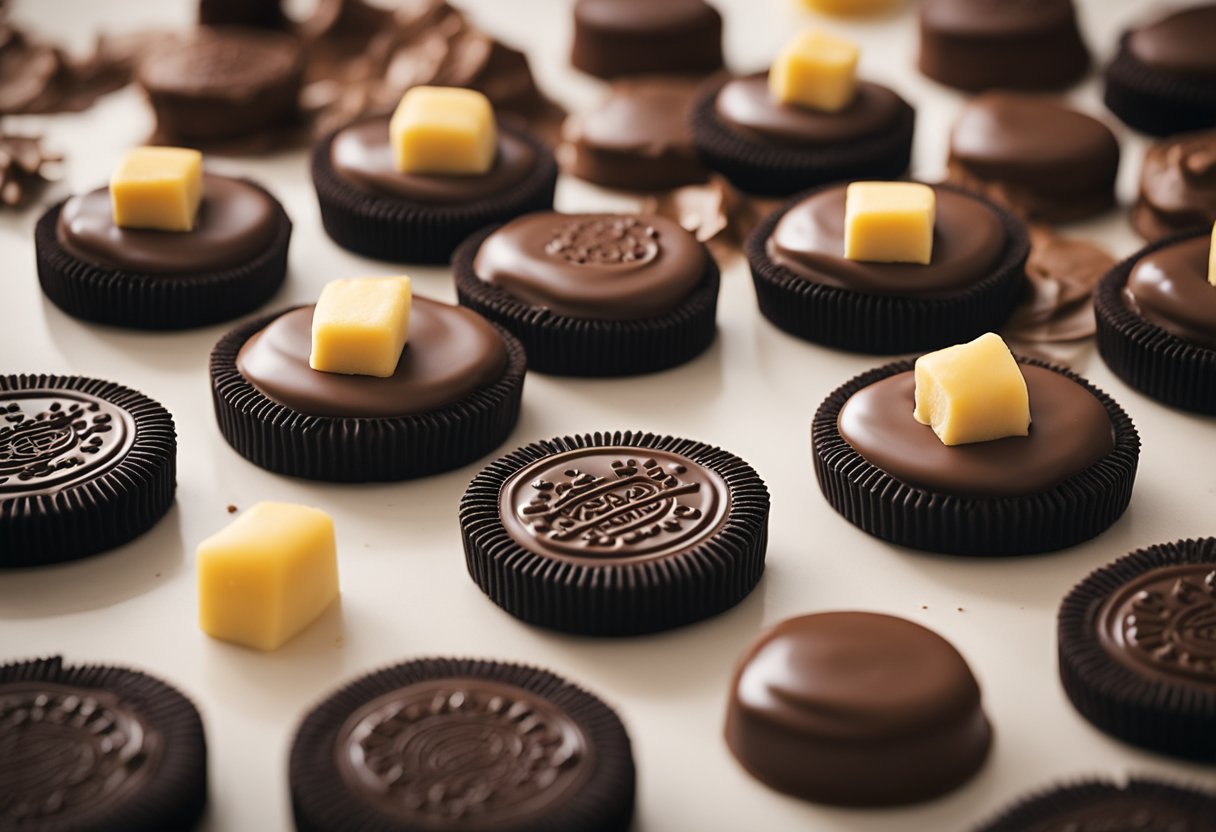
Additional Flavorings and Decorations
To personalize your chocolate-covered Oreos, consider adding:
- Sprinkles: Match colors to the holiday or occasion, like red and green for Christmas.
- Coconut, Chopped nuts: Add texture and flavor.
- White chocolate chips: For drizzling or additional decoration.
Special touches like Peanut butter: For a flavorful twist.
Preparation Tools
Gather your tools for a smooth preparation:
- Parchment or wax paper: To line the baking sheet and ensure Oreos don’t stick.
- Baking sheet: To place your Oreos on while they set.
- A dipping tool or a fork: For cleanly dipping Oreos in chocolate.
- Double boiler or microwave: For careful melting of your chocolate.
- Cooling rack: Optionally, to let excess chocolate drip off.
Creating Your Chocolate Covered Oreos
Making chocolate-covered Oreos is an easy and delicious dessert project that’s perfect for any holiday or celebration. You can share your creations on Instagram, Facebook, or Pinterest to inspire others.
Melting the Chocolate
To begin, you’ll need to melt your chocolate. You can use chocolate candy coating for a smoother finish. Add a teaspoon of coconut oil to achieve a glossy sheen that’s perfect for dipping. Here are two methods:
- Double Boiler: Heat water in a saucepan and place a heat-safe bowl on top with your chocolate pieces, stirring occasionally until fully melted.
- Microwave: In a microwave-safe bowl, heat your chocolate in 30-second intervals, stirring in between, until completely melted.
Easy Dipping Techniques
Once your chocolate is melted, it’s time for dipping.
- Using Dipping Tools: A fork or a specialized dipping tool works well to submerge Oreos without a mess.
- Lollipop Stick Method: Insert a lollipop stick into the cream of the Oreo before dipping for chocolate dipped Oreos that can double as Oreo pops.
Remember to let excess chocolate drip off by gently tapping the tool on the edge of the bowl.
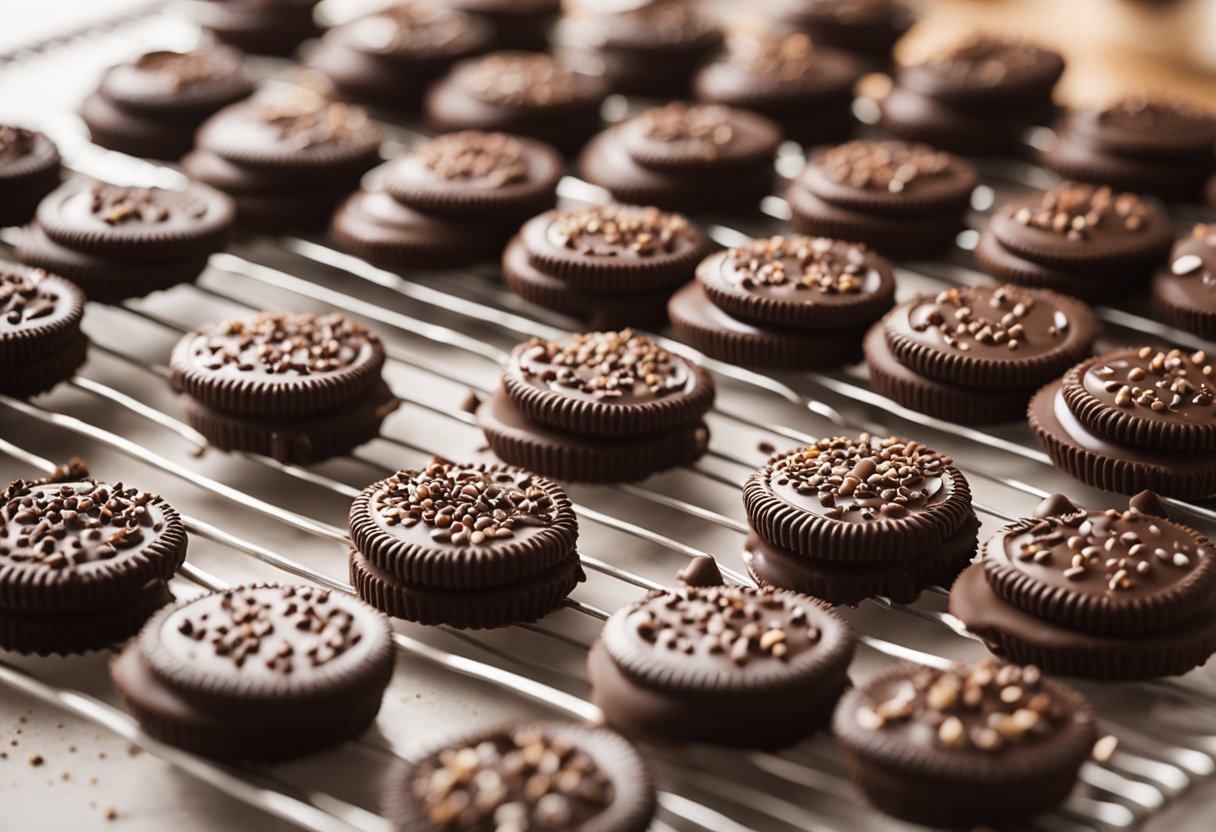
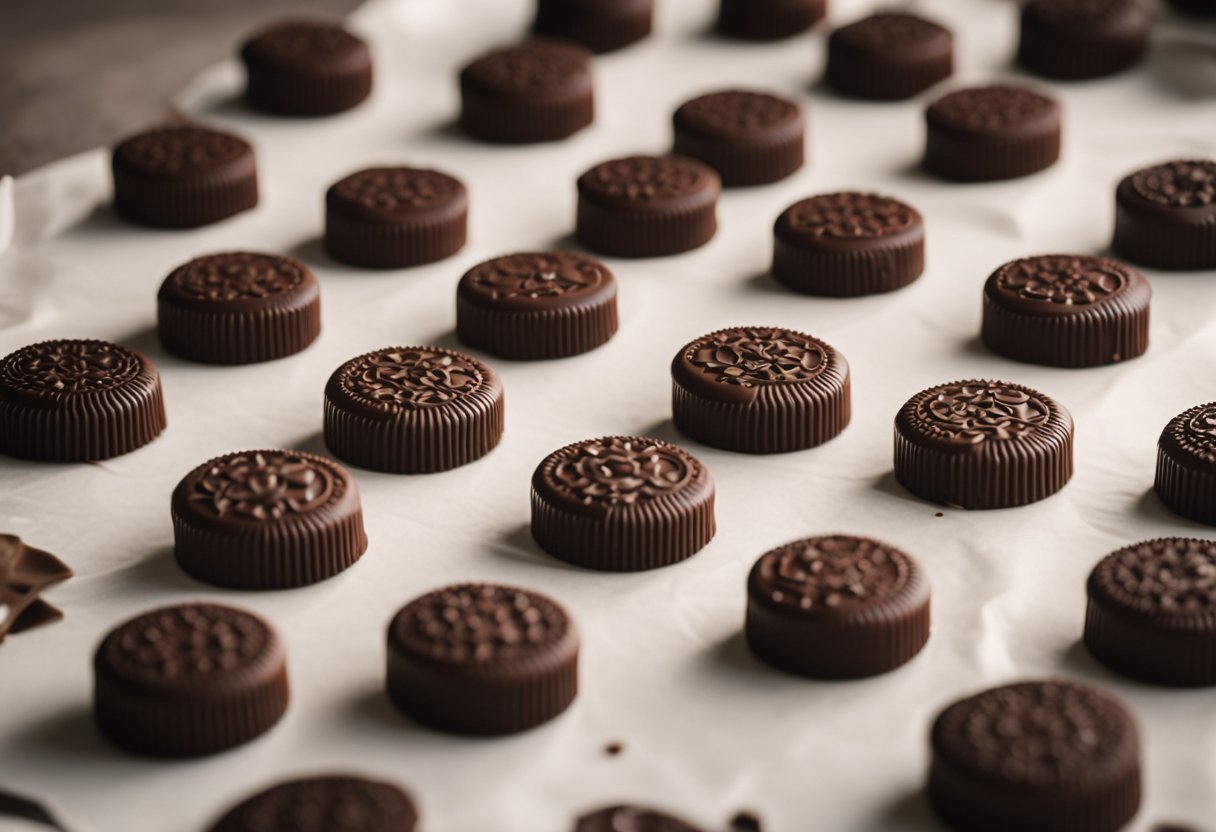
Setting and Decorating
After dipping, place your Oreos on parchment paper to set. Here’s what to do next:
- Set: Allow the chocolate to harden. This takes about 15-30 minutes at room temperature or 5-10 minutes if placed in the refrigerator.
- Decorate: While the chocolate is still soft, garnish with sprinkles or decorations of your choice to make your cookies festive for the holidays.
Packaging for the Holidays
Chocolate-covered Oreos make great gifts for Christmas and other holidays. Once set, you can package them in several ways:
- Cellophane: Wrap each Oreo in cellophane and tie with a ribbon.
- Gift Boxes: Arrange the Oreos in a small box lined with festive tissue paper.
No-Bake Options and Variations
For a no-bake dessert twist, try these variations:
- Oreo Truffles: Crush Oreos, mix with cream cheese, roll into balls, and dip in chocolate.
- Oreo Balls and Pops: Shape the truffle mixture around a lollipop stick before dipping in chocolate for a fun, shareable treat.
Experiment with different types of chocolate or toppings to make your treats unique.
Storing and Serving Your Desserts
Once you’ve mastered chocolate-covered Oreos without a mold, ensuring they are stored correctly and presented beautifully is paramount to keep them fresh and visually appealing for any occasion.
Best Practices for Storage
To maintain the exquisite taste and texture of your chocolate-covered Oreos, proper storage is essential. Room Temperature: Best for short-term storage, keep them in an airtight container for up to one week. Refrigerator: If you’re saving your treats for a later date, like for a make-ahead Easter gift, chilling them can extend their freshness. Arrange the cookies in a single layer in a sealed container and they can last up to two weeks. Freeze: For long-term saving, freezing is ideal. Wrap them individually in plastic and then place in a container. They can be enjoyed for up to two months.
- Room Temperature: Up to 1 week in an airtight container.
- Refrigerator: Up to 2 weeks, single layer in a sealed container.
- Freeze: Up to 2 months, wrapped individually.
Serving Your Delicious Creations
When it comes time to serve your chocolate-covered Oreos, presentation is key. For parties or holidays, you can arrange them on a platter amongst chocolate-covered pretzels and other easy desserts to create an eye-catching display. Consider the event theme and choose decorations that complement it. If making an Oreo pie, garnish just before serving to maintain the perfect texture.
- Parties: Arrange on a decorative platter.
- Oreo Pie: Garnish before serving.
Expert Tips
Creating chocolate-covered Oreos is simple, and with these expert tips, you’ll be able to wow your friends and family with delicious treats that look as good as they taste.
Top Tips for Perfect Chocolate Covered Oreos
- Choose the Right Chocolate: Use high-quality melting chocolate that’s smooth and easy to work with. This ensures a glossy finish.
- Double Up: For an extra indulgent treat, consider using double stuffed Oreos. The additional cream makes each bite extra creamy.
- Avoid Humidity: Work in a cool, dry area to prevent the chocolate from becoming clumpy.
- Set Quickly: Once dipped, place the Oreos on parchment paper and refrigerate to set the chocolate quickly, preventing smudges.
- Thin Layers: To achieve a professional finish, dip Oreos in a thin layer of chocolate; a second dip is optional for a thicker coating.
Adaptations for Special Occasions
- Holiday Themes: Customize your Oreos for holidays by using themed sprinkles or decorations—red and green for Christmas, pastels for Easter.
- Gift-Giving: These make excellent gifts. Place them in cellophane bags tied with ribbon for a personal touch.
- Party Favors: For parties, especially those involving kids, add food coloring to white chocolate for vibrant Oreos that match your theme.
Frequently Asked Questions
Here are some specific answers to common questions about making chocolate covered Oreos without a mold.
What type of chocolate is best for dipping Oreos?
For dipping Oreos, couverture chocolate works best due to its higher cocoa butter content, which gives a smooth finish and a satisfying snap when bitten. Both dark and milk chocolates are great options, depending on your taste preference.
Can I use white chocolate for making chocolate covered Oreos?
Yes, you can use white chocolate for making chocolate covered Oreos. White chocolate should be handled carefully when melting as it is more sensitive to heat than dark or milk chocolate.
What’s the ideal way to melt chocolate for coating Oreos?
The ideal way to melt chocolate is using a double boiler or gently in the microwave in short bursts, stirring frequently. Ensure the chocolate is completely smooth and warm, not hot, to prevent the Oreos from getting soggy.
How can I decorate Oreos after dipping them in chocolate?
After dipping your Oreos in chocolate, sprinkle them with your choice of toppings like chopped nuts, sprinkles, or drizzle with a different kind of chocolate. Do this while the chocolate is still wet to ensure decorations stick.
How long do chocolate covered Oreos last and how should I store them?
Chocolate covered Oreos typically last up to 2 weeks stored in an airtight container at room temperature. Avoid storing them in the refrigerator to prevent condensation from ruining the chocolate coating.
Are there any creative presentation ideas for chocolate covered Oreos at a baby shower?
For a baby shower, you can decorate chocolate covered Oreos with pink or blue toppings, stack them on a tiered platter, or wrap them in cellophane tied with a ribbon to match the party’s theme for a thoughtful and tasty gesture.