Rice Krispie treats are one of the easiest and yummiest snacks that you can make at home. The traditional way to make these delicious treats involves marshmallows, but if you don’t have them or don’t like them, then you’ve come to the right place. In this article, we’ll show you how to make Rice Krispie treats without marshmallows.
How to Make Rice Krispie Treats without Marshmallows
To make Rice Krispie treats without marshmallows, you’ll need simple ingredients for your binder and sweetener.
Select a Sweetener
Marshmallows are usually the primary sweetener in Rice Krispie treats, but you can use honey, maple syrup, or brown rice syrup as alternatives. These natural sweeteners will help to bind the treats while also adding their distinct flavors.
- Honey: thick, with a pronounced sweetness.
- Maple syrup: adds a unique, woodsy flavor.
- Brown rice syrup: less sweet, it offers a chewy texture similar to marshmallows.
Creative Variations and Serving Ideas
To elevate your no-marshmallow Rice Krispie treats, consider these tailored variations and serving recommendations to enhance flavor and presentation.
Fun Twists with Additional Ingredients
Expand the taste of your treats by incorporating peanut butter or cashew butter, which provide a creamy texture and nutty flavor. For chocolate lovers, mix in melted dark chocolate or white chocolate or create a swirl effect with both. Here’s a simple way to add a twist:
- Peanut Butter Chocolate Variation:
- Mix in 1/4 cup of peanut butter to your melted binding mixture.
- Fold in 1/2 cup of chocolate chips after you have mixed in the cereal.
Adding 1 tsp of vanilla extract can also impart a subtle richness to the base recipe.
Cereal Options
The base of your treats, the cereal, can be varied. Whether you choose Rice Krispies, puffed rice cereal, crispy rice cereal, or a gluten-free option, ensure it’s crisp to maintain the classic texture.
- Puffed rice cereal: a lighter option that still preserves the crunch.
- Gluten-free crispy rice cereal: provides the same texture without gluten for those with sensitivities.
Seasonal and Festive Adaptations
Customize your treats to fit any holiday or season with themed add-ins and toppings. Here are a few suggestions:
- Fall/Halloween: Add pumpkin spice mix and orange-colored chocolate candies.
- Winter/Christmas: Mix in crushed peppermint candies and use red and green sprinkles as topping.
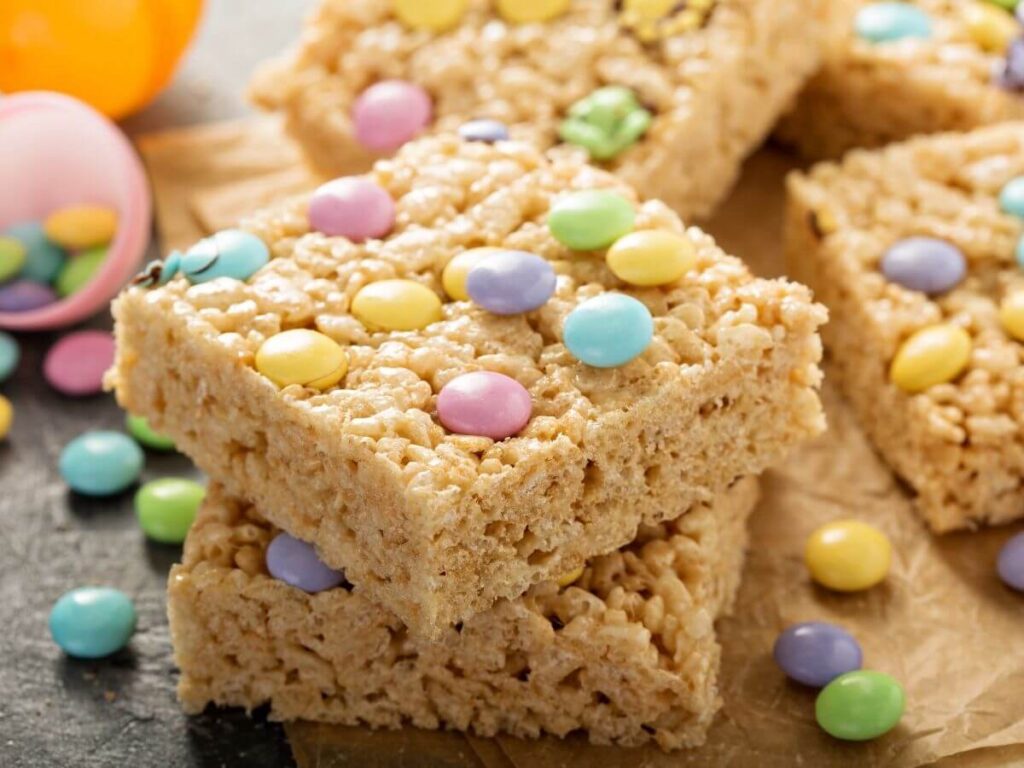
- Easter/Spring: Create treats with pastel-colored chocolate candies and bunny-shaped cereal.
To transform your Rice Krispie treats into no-bake desserts or cereal bars, consider shaping them into festive figures or cutting them into thematic shapes before they set.
Transforming Leftovers
Revitalize leftover Rice Krispie treats by reimagining them into different snacks. Here’s how you could re-purpose them:
- Energy Balls: Crumble the leftovers and mix them with honey or syrup, form into balls, and coat them with mini chocolate chips for a quick energy boost.
- Topping: Crush the treats and sprinkle over ice cream or yogurt for added crunch.
.
How to Make Rice Krispie Treats without Marshmallows
Ingredients
- 1/3 cup of maple syrup
- ¾ cup of creamy peanut butter or cashew butter
- 1 teaspoon of vanilla extract or almond extract
- 2 tablespoons of virgin coconut oil
- A pinch of salt (if you’re using salt-free peanut butter)
- 2 to 3 cups of Rice Krispie Cereal
Instructions
- Line a “9 by 9” inch baking sheet with parchment paper and set it aside.
- Pour maple syrup into a small pan and boil it for 2 to 3 minutes.
- Put the vanilla extract, boiled maple syrup, coconut oil, and natural peanut butter in a medium-sized pot and heat it on the stovetop at a low temperature.
- Stir the mixture for about 45 to 60 seconds until it becomes well-combined and smooth.
- Now add the Rice Krispies cereal to the pot.
- Stir the mixture until the cereal gets thoroughly coated.
- Pour the mixture onto the baking sheet.
- Flatten the top very gently by using a spatula so that the mixture is even.
- Leave the pan until it comes to room temperature.
- Place the pan in your refrigerator for about 20 to 30 minutes.
- Use a sharp knife to cut the mixture into little bars (16 preferably), and they’re ready to eat.
Storing Leftover Rice Krispie Treats
Store Rice Krispie Treats in Refrigerator
Rice Krispy treats will stay fresh for about 2 weeks in your refrigerator if they last that long!
Store Rice Krispie Treats in Freezer
You can also freeze them, and they’ll stay fresh for up to 3 months. Use parchment paper to separate each bar from the other and place them in an airtight container.
When you are ready to eat your Rice Krispie treats, remove them from the freezer and place them in the refrigerator to thaw for a couple of hours. Let them sit for 5 minutes at room temperature before serving.
Frequently Asked Questions
What is the recipe for old-fashioned peanut butter Rice Krispie treats?
For old-fashioned peanut butter Rice Krispie treats, melt 1 cup of peanut butter with 1/2 cup of honey, then stir in 4 cups of Rice Krispies. Press the mixture into a pan and allow it to cool.
How do I make a vegan version of Rice Krispie treats without using marshmallows?
To make a vegan version, use plant-based syrups like maple syrup or agave nectar as a substitute for marshmallows. Combine with coconut oil for better binding and to add a creamy texture.
What are some healthy ways to boost the protein content in Rice Krispie treats?
To increase protein, add a scoop of your favorite protein powder to the binding mixture. You can also mix in nuts or seeds, such as chia or hemp seeds, for additional protein.
How can I ensure that my Rice Krispie treats are soft and not hard?
To keep Rice Krispie treats soft, do not press the mixture too firmly into the pan. Also, store them in an airtight container to prevent them from drying out.
You Might Also Like:
- What To Do with Leftover Marshmallows
- How to Make Instant Hot Chocolate Taste Better
- How To Make Meringue Without Cream of Tartar