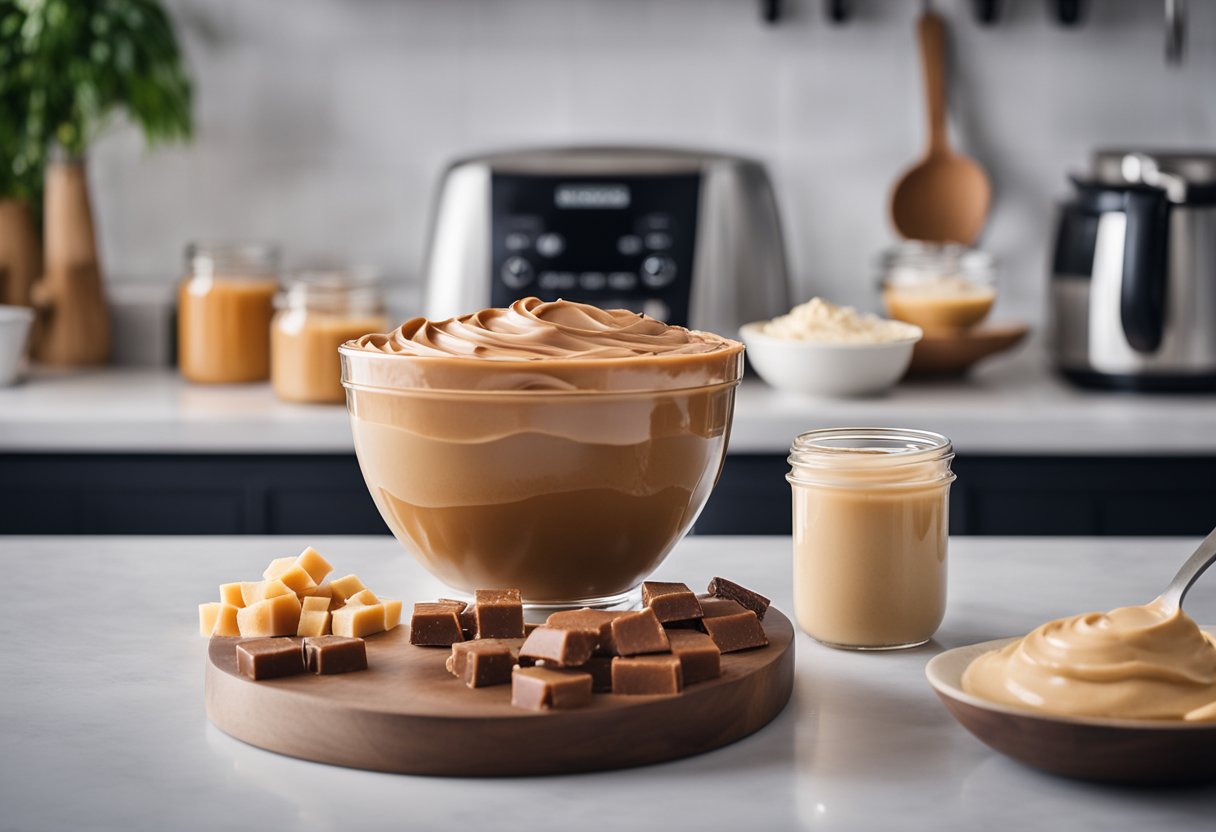
Making fudge doesn’t always require a candy thermometer and a long list of ingredients. Sometimes, the simplest recipes yield the most delicious treats. That’s the case with peanut butter fudge made with frosting. It’s a quick and hassle-free method to create a batch of creamy, rich fudge that’s sure to satisfy your sweet tooth.
With just a few standard pantry items, you can whip together a dessert that’s both indulgent and straightforward. You’ll find that by using frosting as a base, you eliminate the need for sugar thermometers and complex steps. This fuss-free approach ensures that your fudge has the perfect smooth texture every time, without the usual complications of traditional fudge-making.
Essential Ingredients for Peanut Butter Fudge
Creating the perfect peanut butter fudge requires just the right balance of simple yet specific ingredients. Here’s how to choose the best peanut butter and frosting for your fudge.
Choosing the Right Peanut Butter
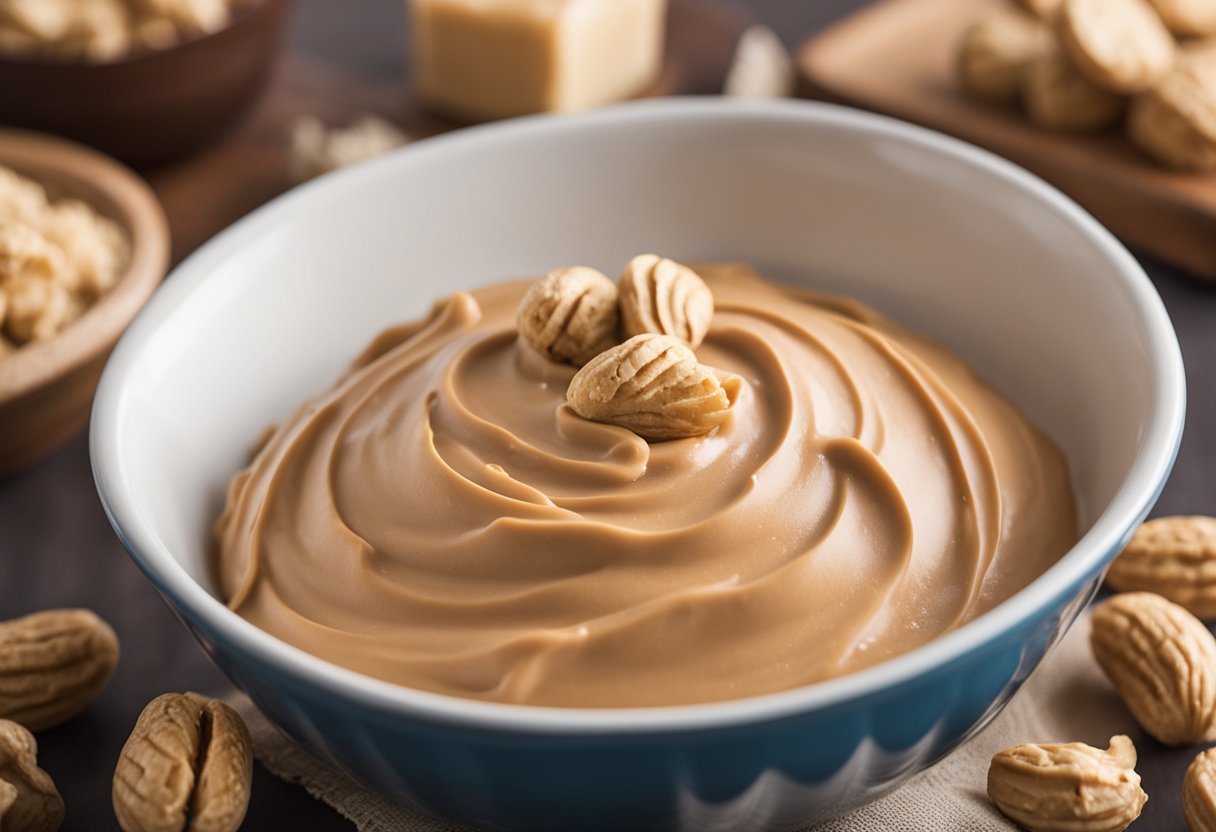
For your peanut butter fudge to turn out creamy and smooth, selecting quality peanut butter is crucial. Creamy peanut butter is preferred, as it mixes well and doesn’t contain chunks that can affect the fudge’s texture.
- Texture: Opt for creamy over crunchy to ensure a uniform consistency.
- Flavor: Choose a peanut butter with a strong, rich taste for a more pronounced peanut butter flavor in your fudge.
Selecting Your Frosting
The frosting is a quick and convenient sweetener and texture enhancer for your fudge. You can choose between chocolate frosting and vanilla frosting depending on the flavor profile you’re aiming for.
- Chocolate Frosting: Provides a deep, chocolatey richness to complement the peanut butter.Vanilla Frosting: Offers a sweet, mellow canvas that lets the peanut butter shine.
Step-by-Step Fudge Making Process
Creating delicious peanut butter fudge with frosting is a no-bake process that is simple and quick. You’ll need just a few kitchen essentials and a handful of ingredients to make this decadent treat.
Preparing Your Equipment
First, line your baking pan with parchment paper, ensuring that the paper extends over the edges for easy fudge removal later. Gather a microwave-safe bowl for melting your chocolate chips with milk, and make sure you have enough space in the refrigerator to chill the fudge once it’s mixed.
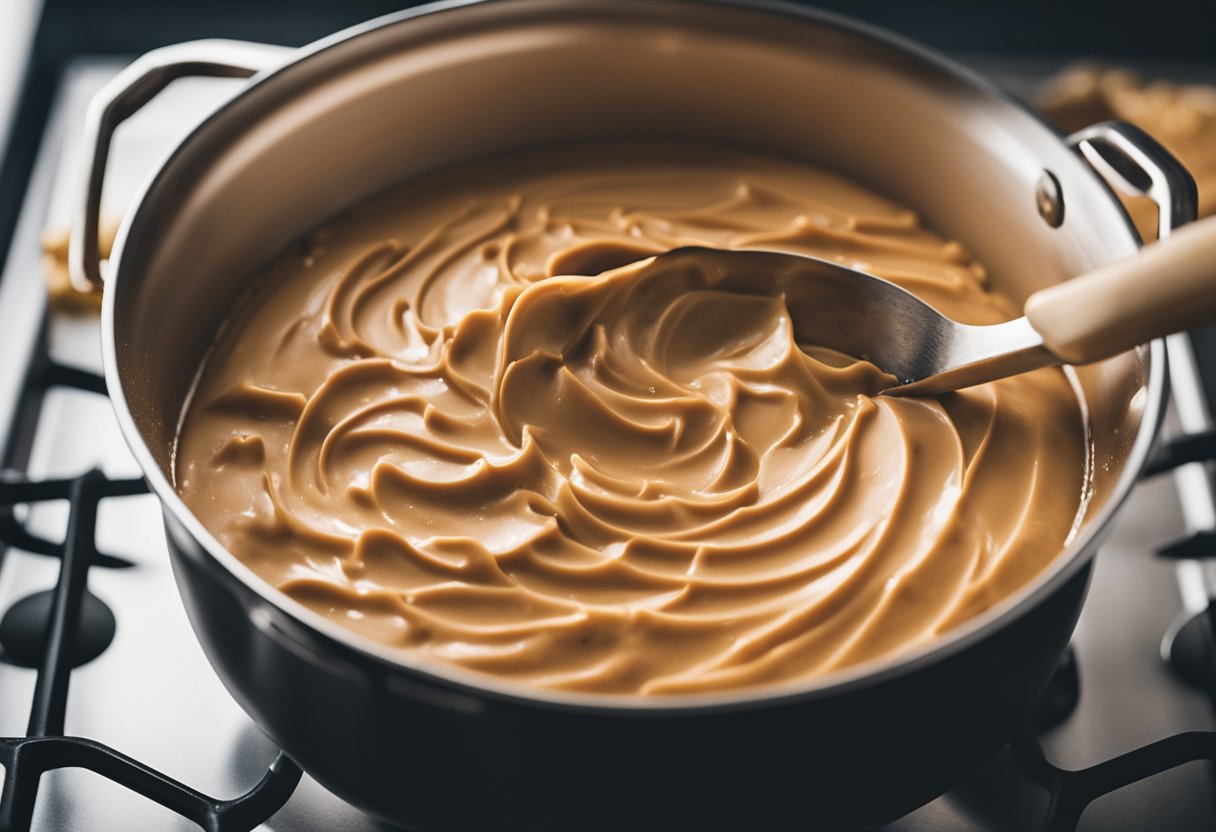
Mixing the Ingredients
Now, place 1 cup of chocolate chips and 1/4 cup of milk into the microwave-safe bowl. Heat them in the microwave in 30-second intervals, stirring after each until fully melted and smooth. Add 1 cup of creamy peanut butter and 1/2 teaspoon of vanilla extract to the melted mixture, stirring well until all ingredients are combined. Pour the mixture into the prepared baking pan, smoothing the top with a spatula. If you wish, spread a layer of pre-made frosting over the fudge for an extra sweet touch.
Setting the Fudge
Transfer the baking pan to the refrigerator and let the fudge set for at least 2 hours or until firm. Once set, gently lift it out of the pan using the overhanging parchment paper. Cut into squares and store your fudge in an airtight container in the refrigerator to maintain freshness. This way, you can enjoy your homemade fudge any time you crave a creamy, peanut buttery treat.
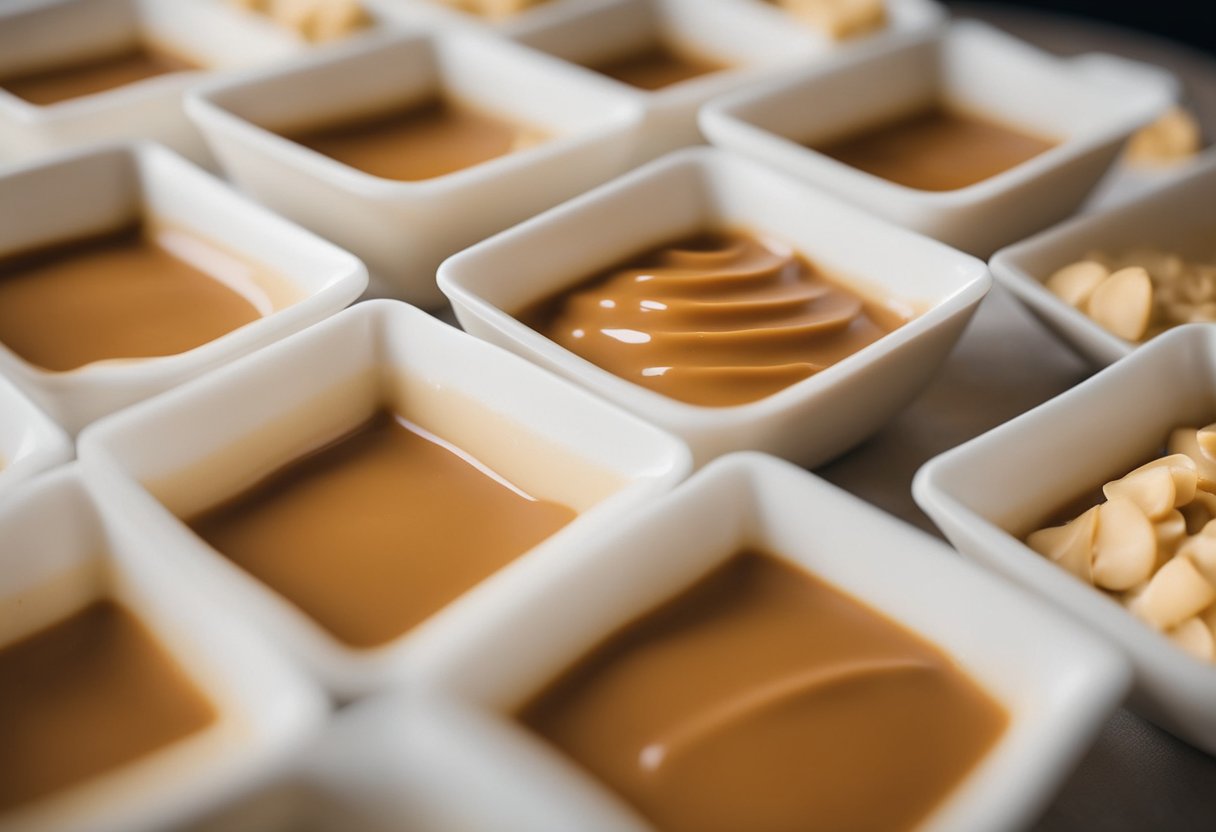
Customizing Your Fudge
Creating your perfect fudge with peanut butter and frosting means adding personal touches. Think of your fudge base as a canvas for your culinary creativity, and use these tips to enhance its flavor and texture.
Add-Ins and Variations
You can elevate your fudge by stirring in a variety of add-ins. Here’s a simple guide:
- Nuts: Add a crunchy twist with chopped nuts. Almonds, peanuts, and walnuts are excellent choices.
- Marshmallows: For a softer texture and a sweet note, fold in mini marshmallows.
- Crushed Oreos: Incorporate crushed Oreo cookies for a cookies-and-cream vibe.
Here’s a quick reference list for proportions:
| Add-In | Proportion |
|---|---|
| Nuts (chopped) | 1/2 cup per batch |
| Marshmallows | 1/2 cup per batch |
| Crushed Oreos | 3/4 cup per batch |
Gently fold these ingredients into your mixture before it sets to ensure even distribution.
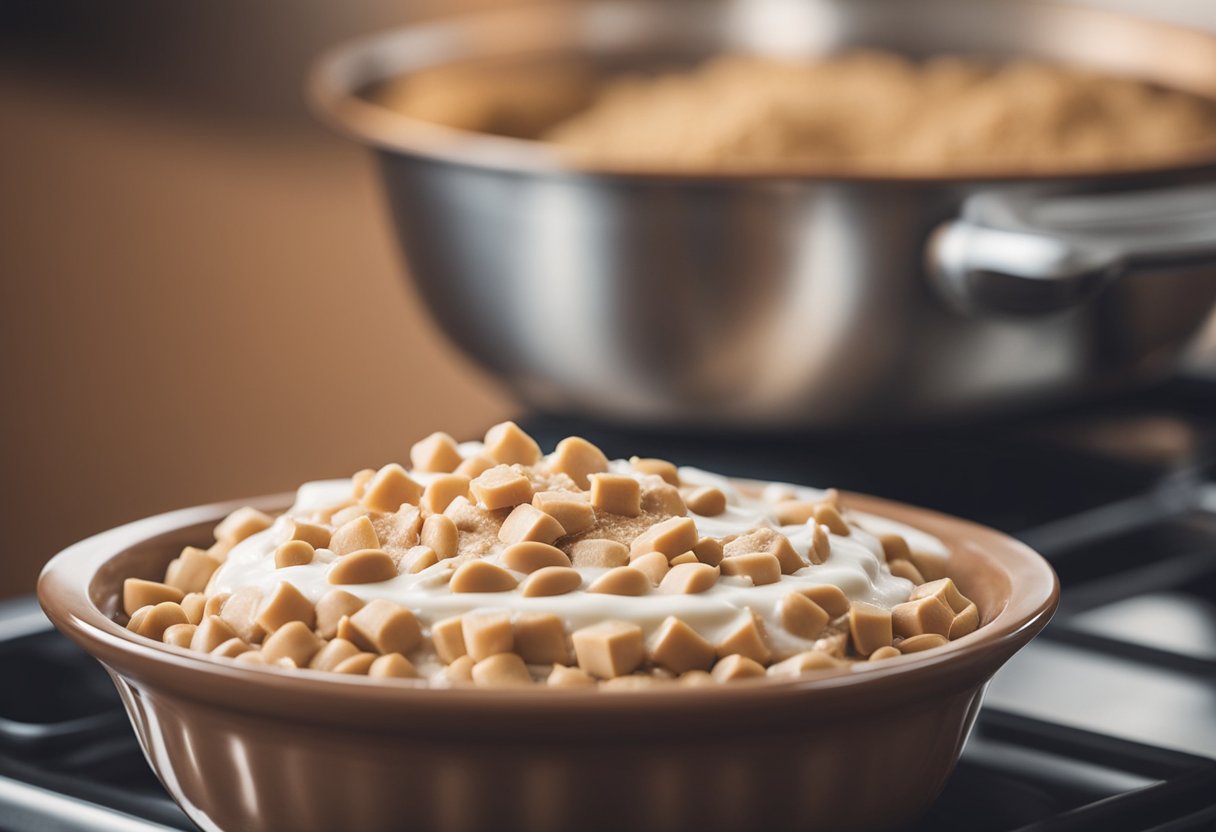
All About Toppings
Toppings add visual appeal and can complement the flavor profile of your fudge. Try these favorites:
- Sprinkles: They’re not just for children! A sprinkle of colorful jimmies can make your fudge more festive.
- More Nuts: A sprinkle of chopped nuts on top adds texture and enhances the nutty flavor of your peanut butter base.
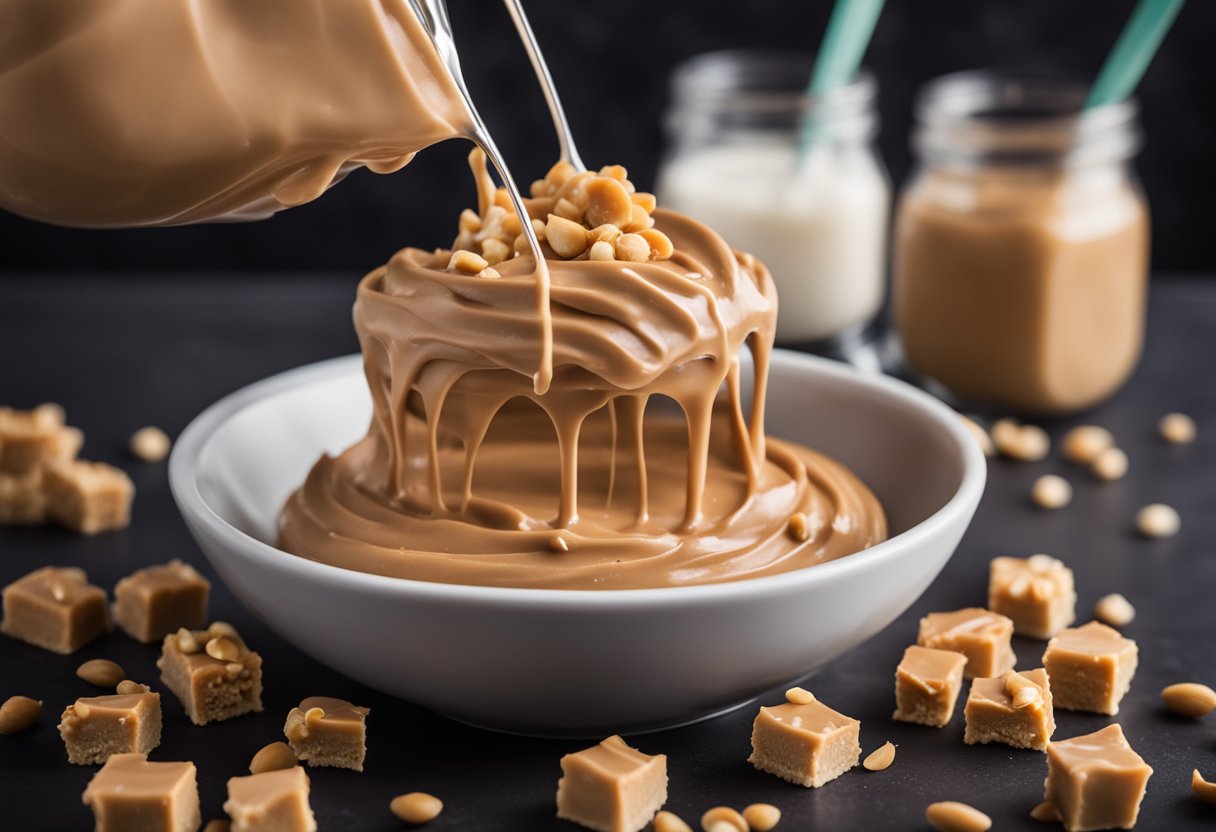
- Drizzle: Melt extra peanut butter or chocolate and drizzle it over the top for a gourmet finish.
For best results, add toppings after the fudge has cooled slightly but before it’s fully set, pressing them in gently to adhere.
Storing and Serving Tips
When you’ve made your delicious peanut butter fudge with frosting, storing it correctly ensures that it stays fresh and tasty. Your no-bake dessert can be enjoyed for longer with just a bit of care.
Refrigeration
Keeping your fudge in the refrigerator is important, especially if it’s frosted or if you’re in a warmer climate. Here’s how:
- Cool Down: Let your fudge reach room temperature before storing to prevent condensation.
- Wrap it Up: Either wrap individual pieces in plastic wrap or place a single layer in an airtight container with wax paper separating any stacks.
- Shelf Life: In the fridge, your fudge will stay fresh for up to two weeks.
Freezing for Longevity
If you’ve got more fudge than you can eat in a short time, freezing is a fantastic option.
- Pre-Freeze: Place your fudge pieces on a baking sheet, not touching, and freeze until solid.
- Package Properly: Transfer to a freezer bag or an airtight container. Label with the date for reference.
- Defrost with Care: Thaw in the fridge overnight when you’re ready to enjoy it again.
At Room Temperature
A cool, dark place can keep your fudge tasty for a week.
- Airtight Is Right: Always store in an airtight container to prevent it from drying out.
Peanut butter fudge is a versatile and easy dessert recipe, ideal for everyday treats or as a special Christmas dessert. Serve at room temperature for the best texture and flavor after storing.
Frequently Asked Questions
Making peanut butter fudge with frosting is simple and quick. Below, find answers to common questions to guide you through the process.
What is the simplest peanut butter fudge recipe using frosting?
To make the simplest peanut butter fudge, combine one jar of creamy peanut butter with one can of vanilla frosting in a microwave-safe bowl. Heat until you can mix the two ingredients into a smooth blend. Transfer to a pan and let it set.
Can you make no-bake peanut butter fudge using only frosting and peanut butter?
Yes, you can create no-bake peanut butter fudge by mixing equal parts of peanut butter and frosting. Spread the mixture into a lined pan and chill it until it’s firm.
What’s the best way to ensure peanut butter fudge sets properly?
To ensure your fudge sets properly, refrigerate it for at least 4 hours or overnight. Use parchment paper for easy removal from the pan.
How can you prevent graininess in your peanut butter fudge?
To prevent graininess, make sure to mix the frosting and peanut butter thoroughly until the mixture is entirely smooth before setting it.
Is it possible to make peanut butter fudge using condensed milk instead of frosting?
While the traditional recipe calls for frosting, you can substitute it with condensed milk. You’ll need to cook the peanut butter and condensed milk mixture on low heat until it thickens before setting.
Does microwave peanut butter fudge turn out as well as stovetop versions?
Microwave peanut butter fudge can turn out just as well as stovetop versions if you carefully monitor the heating time to prevent overheating and stir thoroughly to achieve the right consistency.